Earlier this month, the VE Design Team ran its first Design Sprint to collectively come up with a new and innovative way to deliver a section of the CNC machining course using Augmented Reality (AR) technology. CNC stands for computer numerical control machinery and is a manufacturing technique used to create all sorts of precision components for engines, medical products and computers much faster than a human possibly could.
The question posed to the team was:
“How might we get users to interact with an AR model?”
The use of AR technology in education is rapidly growing as it can render images or concepts into a real environment using a smart device making it easier for learners to grasp abstract and difficult concepts.
Leading the sprint was James Ratsasane who guided the team through the process and ensured the sprint was focused, structured and timely.
Why have a design sprint?
The Design Sprint is a five-phase process to help create or define an idea which is then rapidly prototyped so valuable real user feedback can be collected quickly. Quick feedback from real users early in the process, identifies which areas of the idea are on point and where you can avoid costly mistakes further down the track.
What the heck is a design sprint?
The Design Sprint has evolved from various design processes including the design thinking process. It was further developed and refined by Jake Knapp during his time at GV (Google Venture’s) where he wrote a book on the approach called Sprint. This book has been used as a guide to tackle large problems for many notable companies including Google, Slack, Uber and Netflix.
The five steps of a Design Sprint are as follows.
- Map – This step is to help set the goal, to understand the audience and to uncover the key challenge(s) to focus on.
- Sketch – This step is to explore and develop the idea, develop and iterate creative ways of solving the problem, regardless of feasibility.
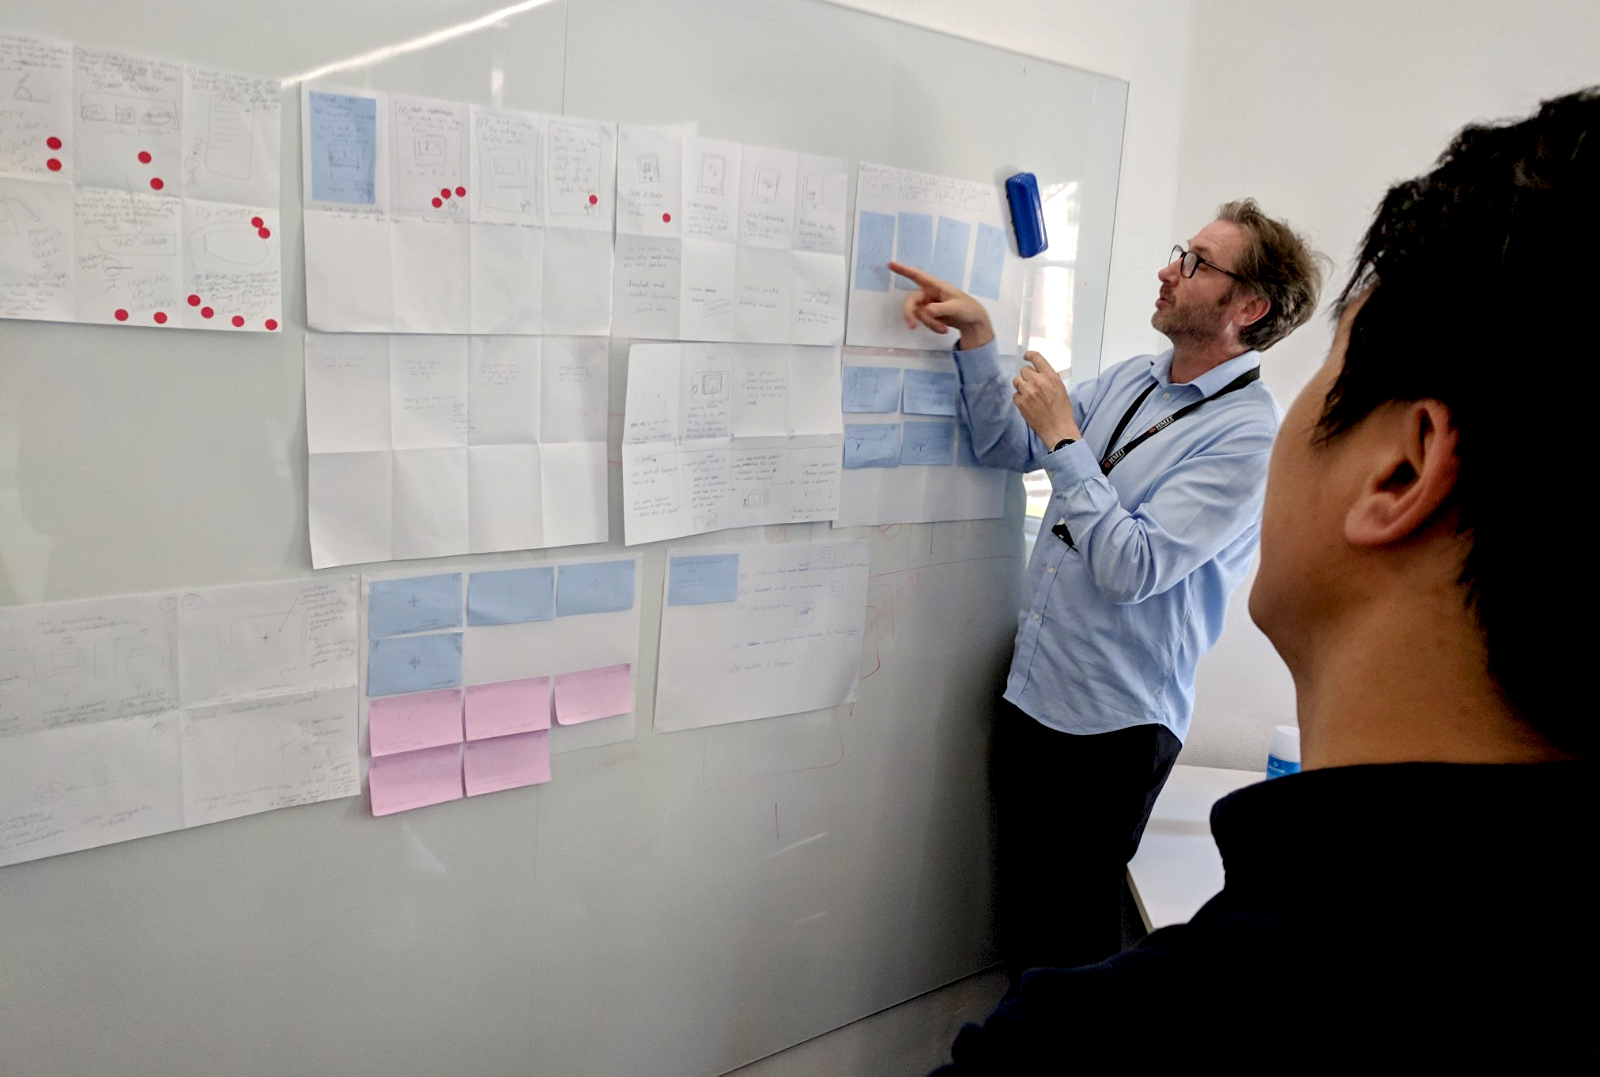
- Decide – This step is to quickly decide as group on the best ideas. The optimal concepts surface and are combined into a compelling storyboard
- Prototype – A prototype is developed in less than a day that is then tested on real users.
- Test – The prototype is tested by the product’s primary target audience. It is here that new opportunities or pit falls can be unearthed without the product or idea having to go through the full development cycle.
The VE Design team’s session focused on the sketch and decide stages.

Sketch
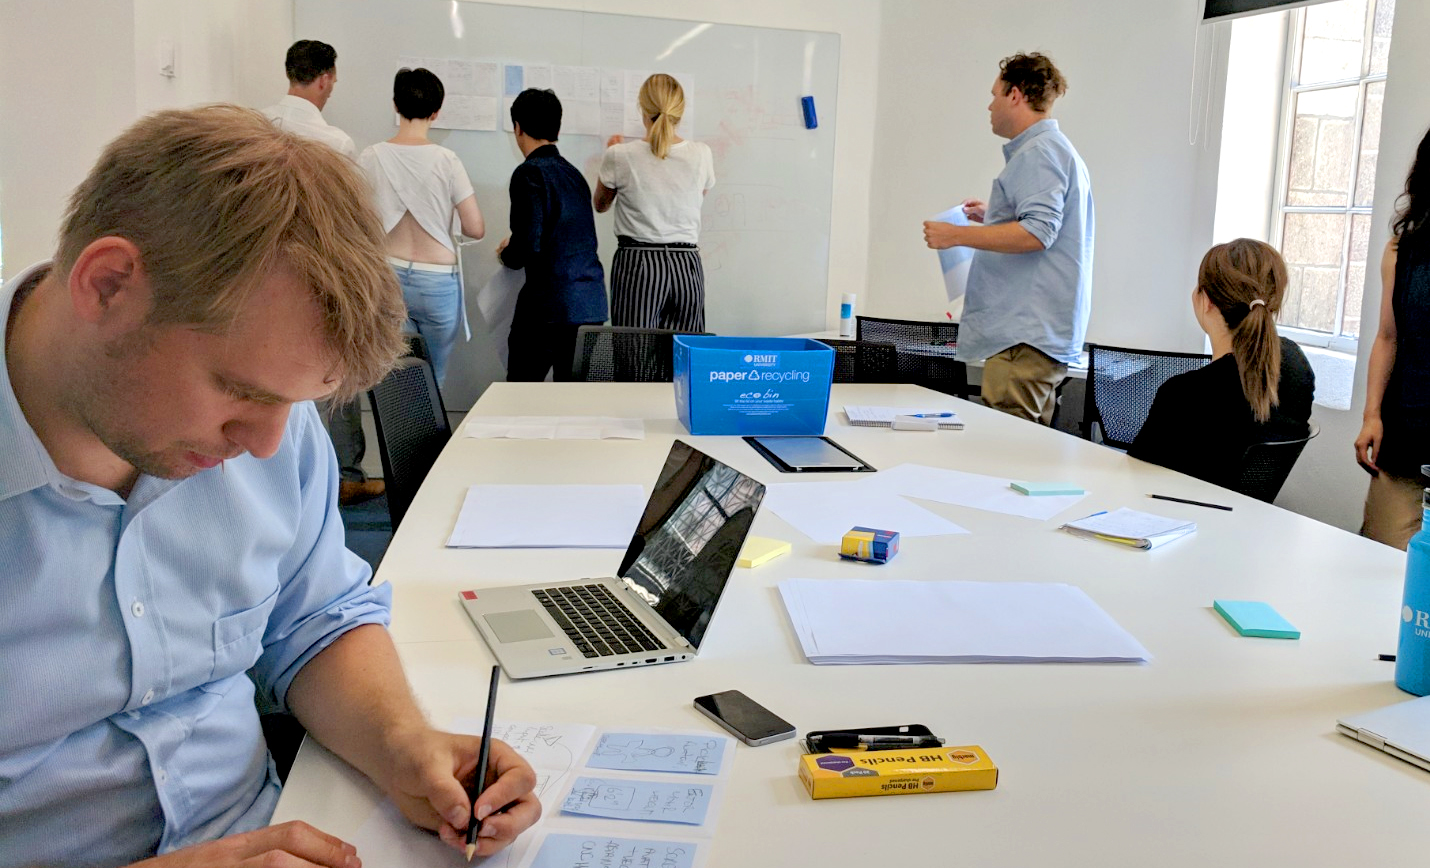
The sketch step is a three-stage process. To kick off the first stage, everyone in the team was given a sheet of paper and two minutes to jot down ideas based on the proposed question. We came up with a set of concepts like creating CNC machines and CNC workshops so students could walk around them identifying hazards or running simulations.
The next stage, known as the Crazy 8’s, is a warm up to help loosen up ideas and free associate. Each of us spent eight minutes sketching and fleshing out eight variations of our best idea from the previous stage.
The final stage of the sketch process was to create a three-panel storyboard to demonstrate how our best idea will work, its functions the best idea further. Everyone then placed their storyboard on the wall for the group to review in the decision making stage and we will show you the results in our next blog creatively titled “Design sprint part II”.